

Complete your first-invoice setup
Prepare your company details, network identity and operating process before sending an invoice. This checklist separates setup from a live send.
Before you start
- Access to the intended tenant and confirmation of the network you will use.
- Approved company registration, tax, address and payment details.
Steps
- Verify your account email, sign in and set up MFA. As an Admin, connect the company through EmaraTax, then complete its Company profile and resolve missing-detail notices.
- Open My Peppol participants. Confirm that the sender is active, belongs to the correct company and is registered for the intended network.
- Check E-invoicing (FTA) for the relevant taxpayer's linkage status and outstanding actions.
- Add frequently used customers and items if you will use manual invoice creation.
- Agree who monitors receiver responses, FTA reporting and ERP callbacks. Set up email alerts or webhooks as appropriate.
- Use an approved test workflow to check the complete process. Confirm live readiness with your administrator before the first production submission.
The intended company has complete details, the required participant/linkage is active, and your team knows where to monitor each result.
Notes & troubleshooting
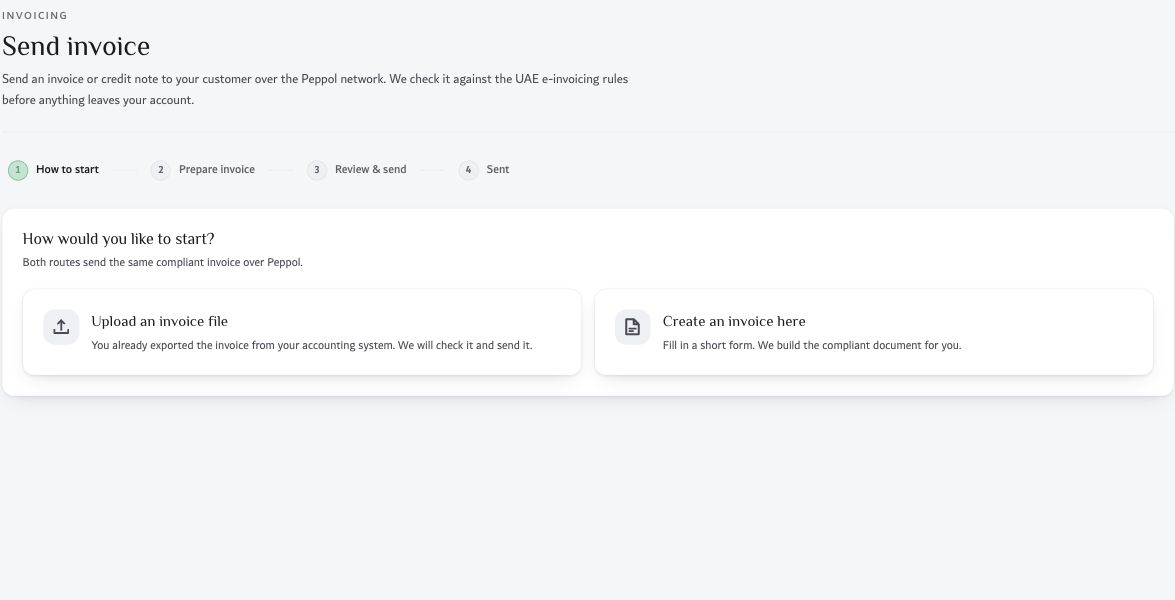
Choose your route
| Your task | Use |
|---|---|
| Enter an invoice without building JSON | Send invoice > Create an invoice here |
| Send an existing compliant XML file | Send invoice > Upload an invoice file |
| Check or develop an ERP payload | Test API and Developer docs |
| Automate invoice traffic | Your ERP integration and API |
Questions and field requirements
What must be ready before my first invoice?
Verify your account email, sign in and complete MFA. An Admin then connects the company through EmaraTax and confirms that it joins the intended Azdan account. Wait for the FTA to confirm the registration, complete the seller profile and confirm the buyer’s Peppol address before preparing a live invoice.
Product workflow reference: Azdan Help Center, reviewed 1 November 2026. Examples are illustrative.
Related guides
Azdan UAE E-Invoice documentation · ERP-neutral workflows. Confirm your deployment’s current labels, permissions and API contract before making changes.